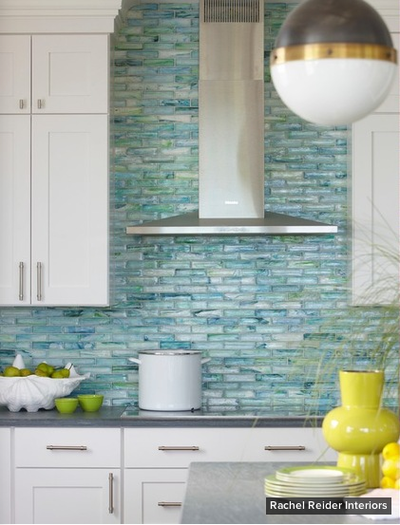
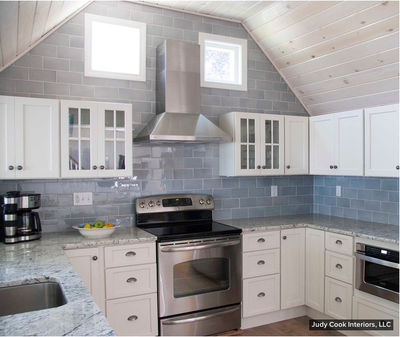
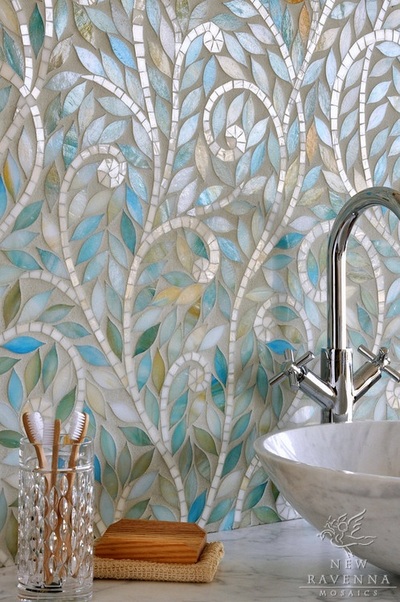
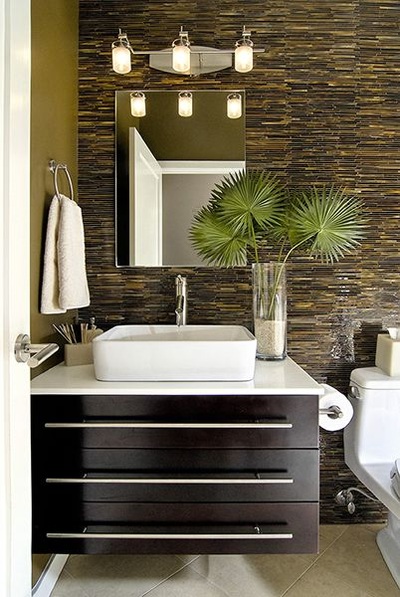
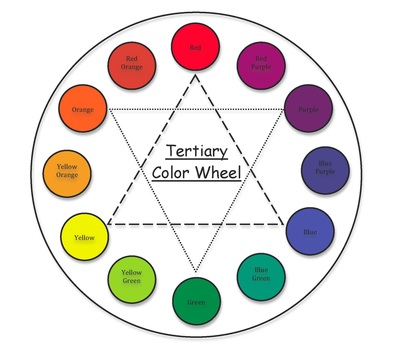
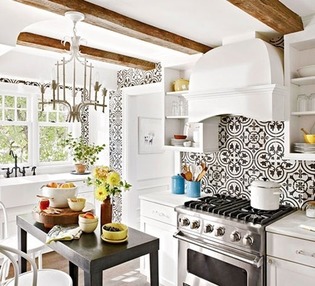
 Today on this Interior Design blog, we are going to discuss picking out a backsplash for your most used rooms: the Kitchen and Bathroom. If you feel overwhelmed, you're not alone. Listed below are five tips on how to create a stellar room through your backsplash. First: Create a Budget and Stick to It. One of the most important aspects of remodeling or renovating your room is the cost! Take time to determine how much you can reasonably spend on this room, and stick to that budget. You'll be grateful later. It can be really easy to fall in love with a certain type of design and justify spending more than you can comfortably afford. Shop around, compare prices and use sample pieces to determine what helps that room look stellar. Second: Take a Look at the Scale. How big is your space? If you choose a tiny tile for a large room, chances are it might look too delicate or simply out of place. If you don't know how to compare your space, take a look online or my examples below. Big and open floor planned rooms have larger tiles, and typically (because bathrooms tend to be on the smaller side) the restroom in your home will have a more simplistic and smaller scaled tiled. Still lost? Select your Countertop First. If you still feel daunted by all the options, try focusing on the countertop selection first. This is your workhorse in the kitchen and can constitute a good chunk of your budget. Generally, there are fewer color and pattern option for countertop materials, whereas backsplashes are practically unlimited. Also, keep in mind that your countertop will be paired with your backsplash. Save a sample of your countertop and take it with you shopping. Or if you already have a countertop in place, and no sample, take a well-light picture with your phone and compare as you go! Next: Stay in the Same Color Tones. A great way to make sure your kitchen or bathroom looks cohesive, is choosing stones and splashes that are in the same color pallet. Whites with neutrals, browns with beiges, blues with lighter greens and so on. If your lost on color, simply take a color wheel in with you and choose a backsplash that is color partners with your countertop material. See example below. Finally: Hire an Expert. Some homeowners just have plain difficulty with DIY projects. All too often you are asked to make too many decisions in a short period of time. Do yourself a favor, if you are prone to giving yourself a panic attack on projects like these, and hire someone you trust to engage in your home renovation. It will take time, but loving the space you live in is worth it.
0 Comments
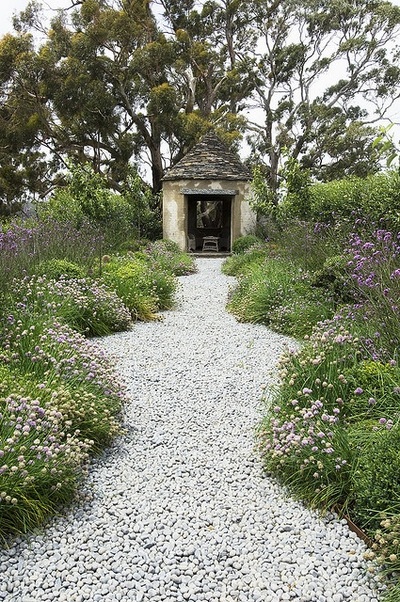
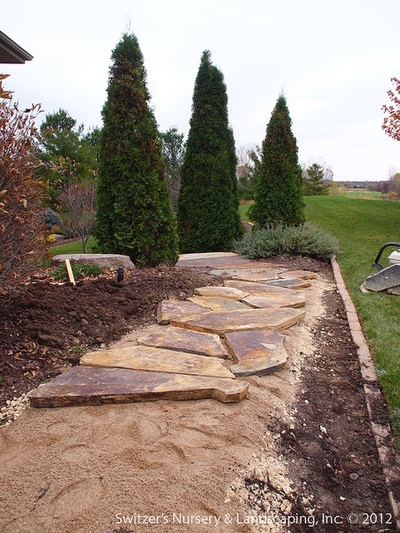
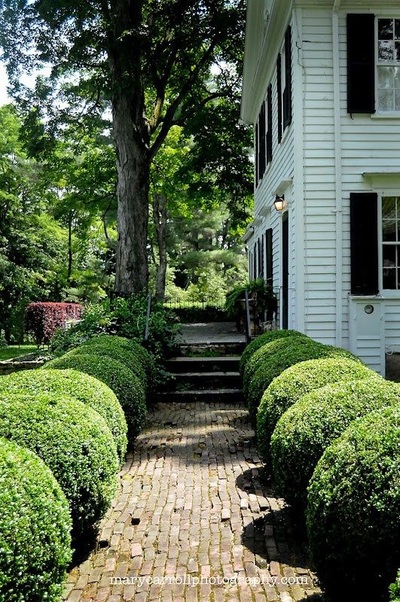
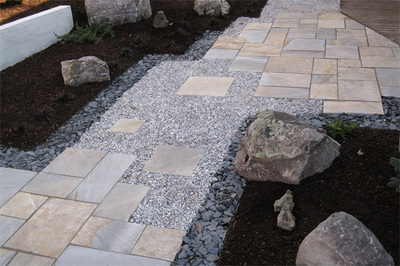
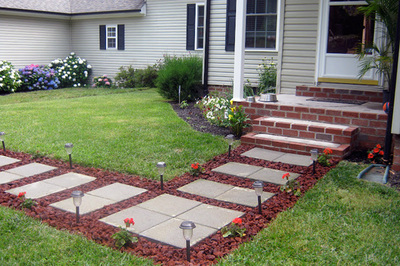
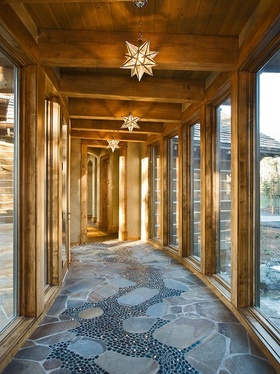 Have you ever walked up to a home and stopped to see what kind of gravel or cement you were stepping on? If so, it’s quite possible the walkway had a great visual appeal that spoke to you. We will call this a Walkway That Talked. Sure, visual appeal is great, but we’d like a little audio with that too. Listed are a few walkways that just might appeal to you. Pea gravel walkways provide a satisfying crunch! Underfoot and are especially at home in country and cottage settings. A solid edging keeps stones from escaping, and landscape cloth underneath keeps weeds under wraps. A landscape contractor will charge about $2 per sq. ft. But you can DIY for half of that! Natural Stone. A flagstone walkway made from quarried stone is unmatched for natural beauty. Local stone is usually attractively priced because it isn’t inflated with shipping costs. So crack open your Geography book... or Google…and learn what types of stone are local in your neighborhood. You can set those beauties about three inches apart and let herbs grow between them. Creeping thyme, oregano, and chamomile are good ground cover options-that release a nice scent when walked on. Or have a ¼ inch grout fill to create a more organized and clean look. Boxwoods and Brick. There is something about the look of white, red and bright green shrubbery that never seems to fade. This combination has been defining walkways for centuries, and looks especially good in traditional settings but both elements need upkeep. Boxwood (Buxus sempervirens) is a tough, glossy-green evergreen that even looks good in winter- trim it often to keep it under control. With time, brick walkways may settle and buckle; pry out individual bricks and reset them by digging them out or adding new sand. Mixing Materials. Combining different elements is a great way to give walkways (and the front of your home) personality. Geometric designs bring you eye immediately downward which overall makes your home even more unique. Plastic and metal edging keeps materials from wandering and make sure the design stays in place. You’ll pay $12 to $26 per sq. ft. for this type of customized walkway, depending on the type of stone you choose and complexity of the design. DIY Spruce UP. Square concrete patio pavers set in sod made a nice walkway but needed a little oomph to add a visual impact, and make maintenance easier! Try setting concrete slabs in groups of squares and rectangles about two to four inches apart and filling that space with red lava rock ($4.50 per bag). Solar walkway lights ($3 each) will enhance the look in both day and night, and finally some happy red geraniums complete the new look. Now that you have learned a couple new tricks on creating a dramatic effect with your walkway, feel free to explore. Head down to your nearest Home Improvement store! Your design is only limited to your imagination. |
Click to set custom HTML
Archives
January 2019
Categories
All
|

